Ubuntu下Neovim 的配置和使用指南
安装
UP主的配置文件 Github 仓库地址:https://github.com/eggtoopain/Neovim-Configuration-Tutorial
安装 Neovim
wget https://github.com/neovim/neovim/releases/latest/download/nvim-linux64.tar.gz
sudo rm -rf /opt/nvim
sudo tar -C /opt -xzf nvim-linux64.tar.gz
~/.bashrc 中添加环境变量
export PATH="$PATH:/opt/nvim-linux64/bin"
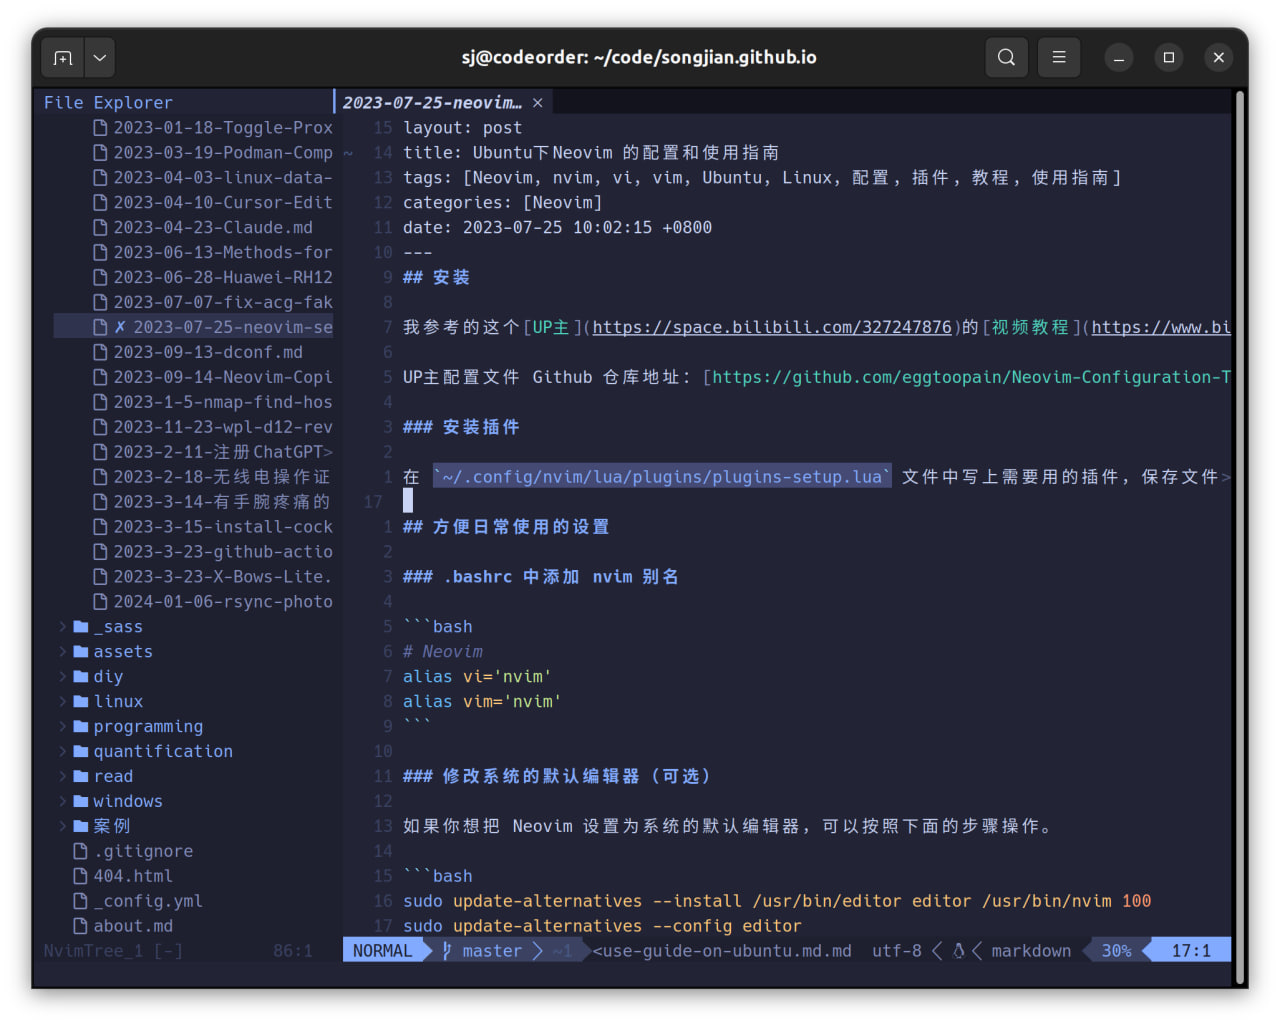
安装插件
在 ~/.config/nvim/lua/plugins/plugins-setup.lua 文件中写上需要用的插件,保存文件的时候会自动安装插件。
方便日常使用的设置
.bashrc 中添加 nvim 别名
# Neovim
alias vi='nvim'
alias vim='nvim'
修改系统的默认编辑器(可选)
如果你想把 Neovim 设置为系统的默认编辑器,可以按照下面的步骤操作。
sudo update-alternatives --install /usr/bin/editor editor /usr/bin/nvim 100
sudo update-alternatives --config editor
安装终端图标字体
一些插件需要终端图标字体的支持,比如 nvim-tree 插件。
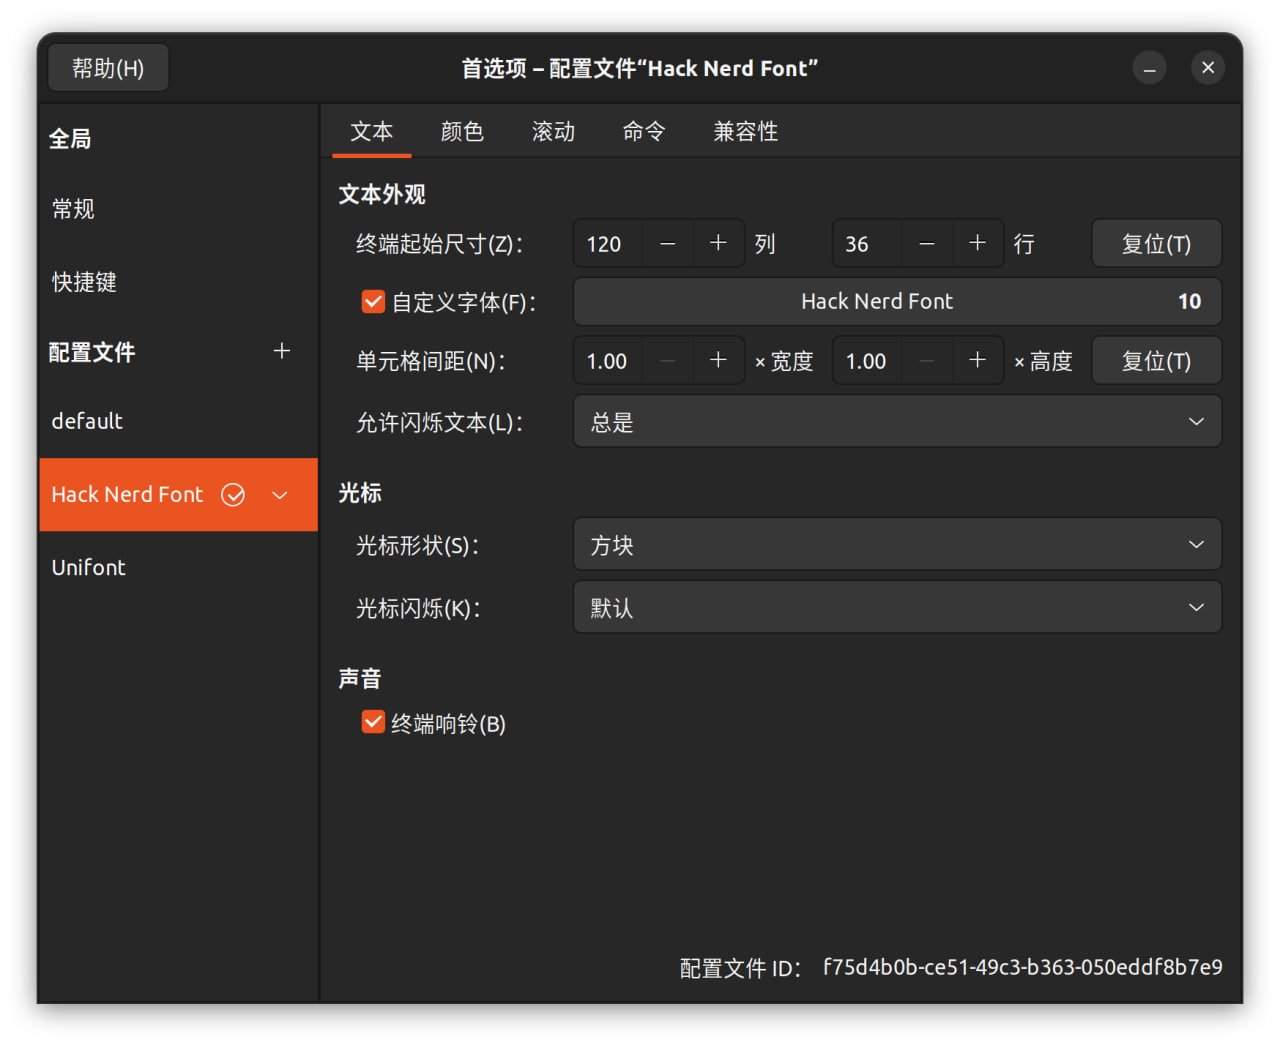
安装 Hack Nerd Font 字体
下载 GitHub 上的 ryanoasis/nerd-fonts 仓库 Releases 中的 Hack.tar.xz ,解压后把 Hack 开头的 ttf 文件复制到 ~/.local/share/fonts/ 目录下。
# 下载 Hack Nerd Font 字体
wget https://github.com/ryanoasis/nerd-fonts/releases/download/v3.1.1/Hack.tar.xz

# 解压 Hack Nerd Font 字体到 ~/.local/share/fonts/ 目录下
mkdir -p ~/.local/share/fonts/
tar -xf Hack.tar.xz -C ~/.local/share/fonts/

# 更新字体缓存
fc-cache -f -v
最后在终端里选择Hack Nerd Font作为终端字体。